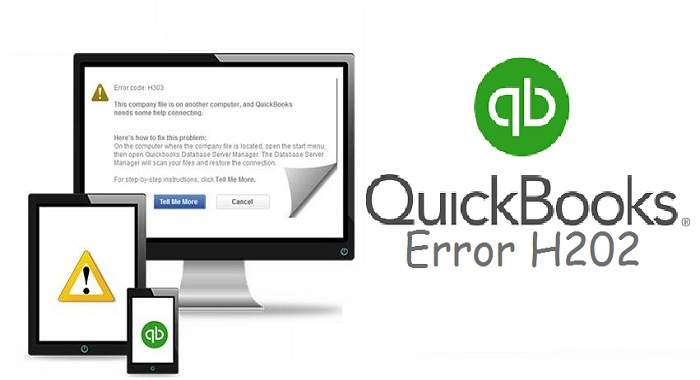
QuickBooks Error H202: Repair The Multi-User Mode Error Quickly (5 Top Solutions)
Quickbooks Error H202 falls under the multi-user mode error category & it majorly exists when the connection of the server has been disconnected. The H202 error means the user cannot access the company file since it is stored on another computer. In fact, it shows that the server needs assistance in connecting. Furthermore, the user cannot open a file stored on another computer.
This QuickBooks error code H202 can even occur at times mainly due to connectivity troubles. The QBs server cannot establish a connection with the default file destination & the company file cannot be opened. Due to privacy reasons, the use of the same file multiple times is not permitted in this case.
QuickBooks Error H202: Occurrence Causes
There are different existing reasons & causes for the presence of QuickBooks Error Code H202.
- Blocking due to firewall settings.
- The network data file is missing, lost, & broken.
- You haven’t configured your hosting settings.
- It is not possible to establish the Domain Name System accurately.
- QBFC Monitor along with QuickbooksDBXX are not functioning properly.
- No IP address is given for the host or the server.
Identifying Quickbooks Error H202
- Quickbooks does not allow users to switch onto the multi-user mode.
- Access is not possible to a company file saved on another computer system.
- QuickBooks Error Code H202 twinkles again and again on the screen.
- The software QuickBooks is not operating properly.
- As a result, your system’s response time increases.
Topmost Solutions To Repair QuickBooks Error H202
Method 1: QuickBooks Database Server Manager
- Go to the Start menu and look for the Run option.
- Click on Run & write up services.msc & then use Enter.
- By clicking on the QuickBooksDB19 (2007), QBsDB18 (2008), and QBsDB17 (2009), you need to select Stop.
- Again do a right click & go to Start & then terminate the window.
- Following that, you’ll need a list of all known file types and extensions.
- From the Start menu, choose Explore after the right-click on the Start menu.
- Navigate to the Tools option & then choose the option Folder.
- Moving on, from the View tab, choose the Hide Extensions option within the known file types box.
- Again, use the tab View & then use the option read as Show Hidden Files and Folders.
- Mark out the Hide Protected OS box.
- Tap on Yes as the warning prompt comes up & hit OK.
- At last, terminate the Windows Explorer.
Method 2: Delete and Recreate the Network Data File
To remove & recreate the ND data file, you need to follow the steps here below.
- Go to the Start menu and look for the Run option.
- Click on Run & write up *.ND & then use Enter.
- Then click on Delete by right-clicking the ND file.
- Once removed, navigate to the Start button
- Moving further, from the All Programs tab, click on QuickBooks & then go to the QuickBooks Database Server Manager.
- Use the tab named Scan Folder.
- Next, use the button Add Folder.
- Choose your company files.
- Moving ahead, click on the company file & tap OK. In the Folders, you’ll find QuickBooks company files as well as QuickBooks-related files.
- Now, use the Start Scan tab to start the scanning process.
- Once the scan is finished, tap on Close.
Method 3: Self Network Hosting
Users who do not yet have a self network can follow the below steps in order to install the QuickBooks database server manager on each QuickBooks version currently in use. Afterward, the database server manager must be installed, followed by the following steps:
There exist two alternate ways for putting up the QBs database server manager:
- The Full Program Solution: This includes the installation of QuickBooks, as well as QBs Database Server Manager.
- The Server-Only Option: This option only accepts the database manager installation on the server.
Method 4: Resolving the process of hosting to the local files
This first method is about resolving the hosting of the local files which is the primary resolution to repair QuickBooks Error Code H202.
- To start with, access the software QuickBooks & then with the F2 key on the keyboard, open the Product Information Window.
- Under the bottom pane, go for the option coming as Hosting below the Local Server Information & get a display of just the local files.
- The client should ensure that the same file is not hosted by anyone else.
Method 5: Verification of Network Connectivity
- Begin with turning off the hosting services on all the workstations.
- From your own workstation, select a server name.
- Type up the server name & use the Enter key.
Last Say!!
Quickbooks error H202 falls under the multi-user mode error category & it majorly exists when the connection of the server has been disconnected. The H202 error means the user cannot access the company file since it is stored on another computer. This article provides an explanation of the causes, symptoms, and solutions to the H-series error.
We hope you will be able to troubleshoot all the QBs H-series errors easily. If you experience any other QuickBooks errors, you can also use these methods, and a few of the solutions will certainly help you troubleshoot most of them.
Also, Read- Easy Ways to Reinstall QuickBooks PDF Converter